Mission: Recover Dan’s 800 was successful. More successful than I had anticipated, actually. The Saturday-morning plan was for Brian to bring his fancy new aluminum trailer over from the Eastern Shore for its maiden recovery mission, which meant we needed to meet early so that he could get back home in the afternoon for an appointment. So Bennett and David and I met up before dawn in my driveway and we did a convoy of Hondas stuffed with recovery gear to Dan’s house, with a brief stop at Dunkin’ for fuel. The second-gen Honda CR-V is now the official chase car/recovery vehicle of the Old Line State Binders.
Brian pulled up shortly after we got there, and thankfully the field was dry and cold enough to be solid under the axles of the trailer. After walking the route, we found it clear and dry enough to drive on, so Bennett and I pulled as close as we could to the 800 and started unloading tools.
I gave the family cash and got a bill of sale for the truck, although there’s no VIN number I can find anywhere—on some trucks it was bolted to the firewall and on others it was bolted to the door. This truck has neither, so getting a title is going to be a challenge—but I have two good options there. Later on I’ll scrape the frame rail to find the true VIN and get a lineset ticket.
Brian is a pro at navigating through narrow corridors, and quickly had the trailer backed up to the truck. While he was doing that I started loosening lug nuts—and found out quickly that the driver’s side studs are reverse thread. I’d brought two spares for the front tires, and with an assist from Brian’s corded impact gun (run off the plug on the back of his Ford hybrid, very trick) and my Hi-Lift jack, we had the wheels swapped and the truck ready to roll very quickly. (Note to self: diagnose and repair the lowering linkage on the Hi-Lift). Running the line out from his winch, I hopped up into the Scout, put it in neutral, and we quickly had it up on the trailer. It went so smoothly, in fact, we had it strapped down and ready to move by 9AM. I threw the two bad tires in the back as well as an original skinny 7″ steel wheel and we strapped all of the loose parts down.

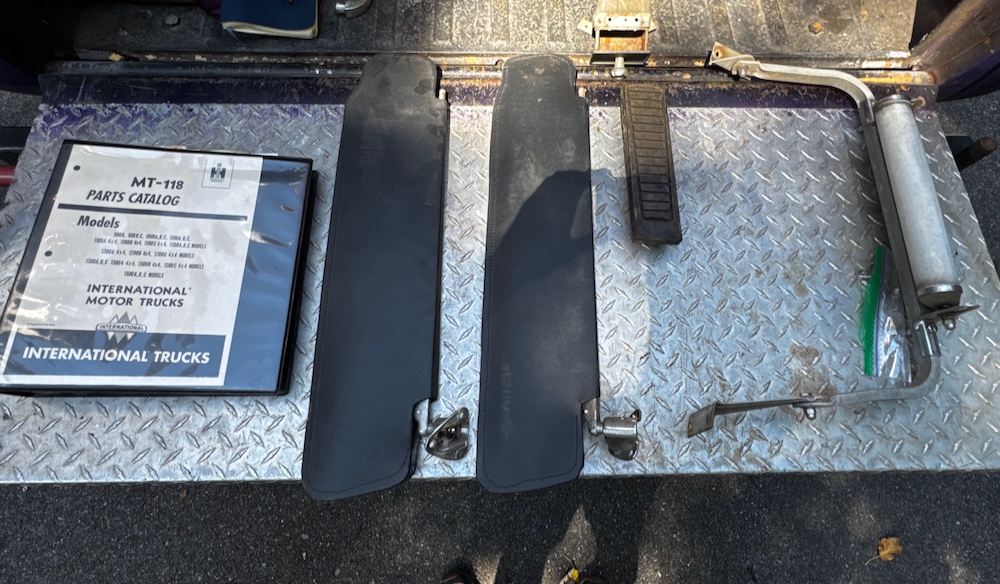
Then we went bushwhacking behind the garage and David and I walked the steel half-cab to the bed of Brian’s truck. With that in place, My task was done, but we wanted to stop back in the woods to see if we could get the visor off the junk Travelall for Bennett, as well as scope out the bed extensions on the other pickup. With a bunch of PBblaster, verious screwdrivers and a BFH we got the visor and the mounts off the truck, as well as some other doodads.
With that stuff secured, and a final survey of the remaining vehicles in the bushes, we checked the straps again and got on the road for home. Back at the house, my neighbor moved his second car out of the driveway so Brian could back the trailer up and straight into our yard. We dropped it in between the garage and the greenhouse with few problems, folded up all the straps, and cleared out.

With that done, I treated the guys to a hearty breakfast down the street, and we all marveled over how quickly the job went. Back at the house I handed off some tools and a vise to Brian, and a spare wheel and the manual shift column I’d collected to David, a nd everyone left for home around 1PM. I came inside and promptly fell asleep on the couch with a snoring dog, which was exactly what I needed.
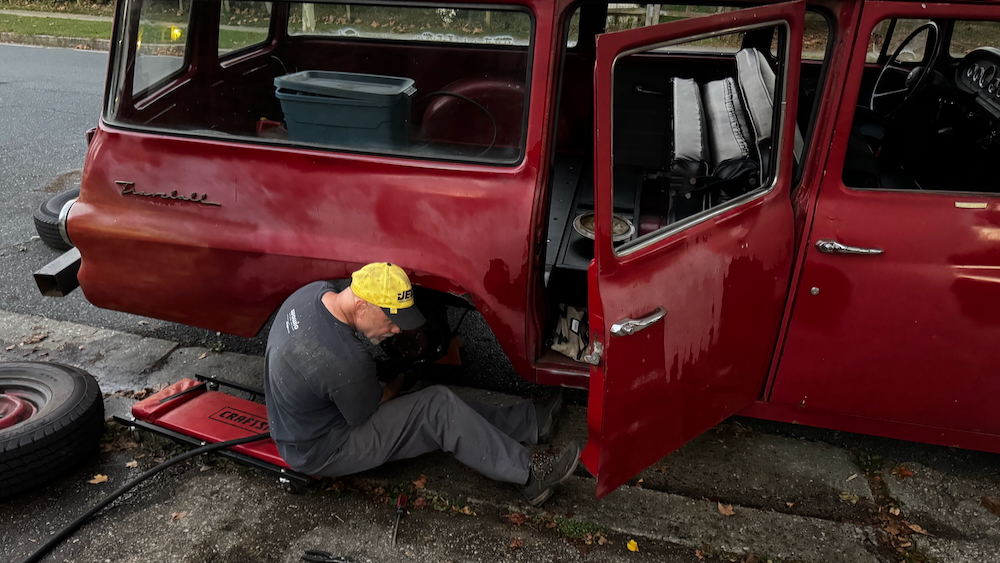
On Sunday I took advantage of a free hour to pull the spark plugs and dump some Marvel Mystery Oil down to the pistons, as well as pull the carburetor to soak in cleaner. The plugs were fouled with carbon as was the carburetor, which means it was running too rich when it was parked. The whole truck is filthy, which is no surprise, so it’ll need a good pressure wash before I can really start tearing things apart. The plan is to move Peer Pressure up to Brian’s place, where he’s got a spare garage bay he can rent me in January with a plug for a trickle charger while the weather is salty. I’ll keep the 800 at the house where I can work on getting it moving, and leave the Travelall napping in the driveway.
I have a crap-ton of video to edit over the holiday break, including some drone footage I shot before I crashed it into a tree and broke one of the legs. So that repair job is also on the calendar. But stay tuned, it’ll be live soon!
Big thanks to Bennett, David, and Brian for all their help and another fun early-morning tetanus adventure!