
Part one of this story begins with the Scout in Annapolis, being looked over by my original Scout mechanic from 1997. To make a long story short, I needed new bearings and reached out to several mechanic friends, who were all backed up with work. My friend Mikey, who I know through a completely different set of friends, suggested Erick—another example of worlds colliding in amazing ways. I brought the truck down to him with the bearings and he had both the fronts replaced by about 6:30 Wednesday evening. I ran down there with Jen, picked the truck up, and hustled it back home in a light rainstorm. I’d already prepacked everything so it was fast to throw stuff in the truck, kiss the girls, and hit the road to meet Bennett at a park and ride out on Route 70.

From there we drove out to West Virginia to meet Brian at his family river house, and we cracked a beer on the porch before hitting the sack in a beautiful new air conditioned camp trailer they bought last year.

Thursday morning broke hot and only got hotter. The temperature was in the 90’s but the humidity pushed the index into the 100’s, so we checked fluids in the trucks, packed ice and water, had a quick bite to eat and headed west. We hit only one minor slowdown for construction, and stopped every hour or so to hydrate, gas up, and air out the backs of our shirts. Bennett kept the location of the barbecue joint we hit two years ago so we stopped in there for some lunch at about two, and it was worth the wait.

Back on the road, we navigated the evening rush hour around Columbus and then got cooled off in a downpour west of the city which then seemed to follow us. With the bikini top on the truck and a speed above 40mph, everything in the truck stayed bone dry through the worst of the thunderstorm. I’d prewashed the windshield with Rain-X before we left and that helped the visibility; I only had to use the wipers occasionally.

We rolled into the hotel by about 8PM and found the parking lot about 3/4 full of antique trucks. There were a bunch of folks to stop and chat with, and we finally broke off to drag some gear inside before it started raining again. We’d all agreed to avoid restaurants and as much indoor exposure as possible, so we ordered a pizza and had it delivered to the room while the rain passed. Then we headed back outside to meet up with friends and drink some beer.

Friday morning we got an early start, as a lot of the good parts would be fresh on the grass at entry, so we ate a quick breakfast, brushed our teeth, and hit the road for the airfield. After a brief stop at Tim Horton’s drivethrough we entered the grounds and made our way over to the rows, where Bennett and I set up next to each other and Brian got a sweet spot right across the lane from us. After checking in and picking up our swag we set up my EZ-UP (lifesaver) and wandered over to the parts area.

There were a lot of goodies to look over, and I tried to show some restraint for as long as possible. I got a ’72 emblem for the front of Peer Pressure’s grille (mine is missing) for $5, a day-night rearview mirror to replace my single-position mirror for $15, a $20 transmission mount (mine is toast) and a sweet shirt from GRC Fab for $15. There was a lot of other amazing stuff there that I would love to have bought.
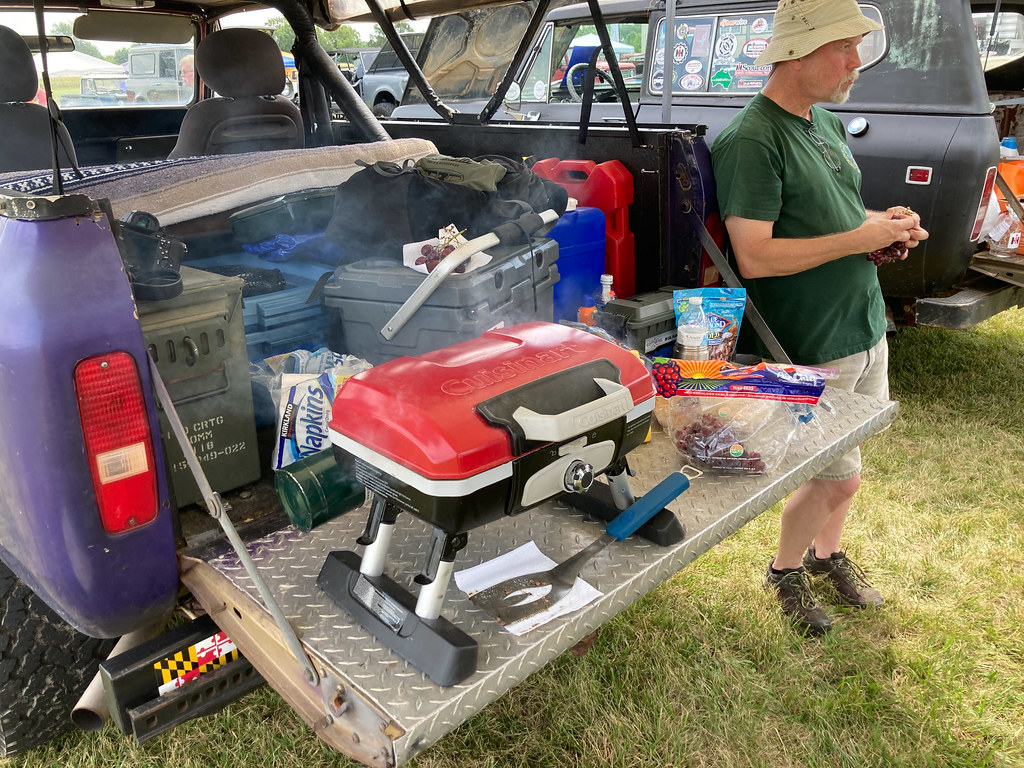
We ran into a bunch of friends on the grounds and caught up with them, but by 1PM we were crispy and hungry. We retired to the tent to grill some hamburgers and chat with our neighbor Dave, who owns a last-day 1980 diesel Scout and who was happily eating some homemade ice cream from one of the vendors.

Sipping on a delicious chocolate milkshake from said vendor I heard the announcer offer a door prize to the first person who could produce an IH keychain. I hustled up to the podium and showed him my worn leather keyfob—the fob Chewbacca’s keys came on—and claimed a nice plastic ammo box to hold all of my new parts.
By about 4 we were thoroughly baked so we lowered the tent and headed back to the hotel. The tailgate party was just kicking off so we cracked some beers and I ran upstairs for a quick shower. Then we grilled some dinner on Peer Pressure and talked with friends.

We met a nice kid who parked an immaculate ’78 Rallye next to Brian’s truck and struck up a conversation; he’d spent the last two years working on it with his Dad and was obviously pretty proud of the results. Every nut and bolt was new. The paint gleamed. The engine was spotless. We complimented him on his work and told him to keep it out of the rain. Turns out he was from western Maryland and he’d trailered it in with his Dad that day.
Another man asked me a question about my grille, and I got to talking with he and his teenage daughter. She’d just bought a Scout and wanted to fix it up, and they’d driven four hours from Illinois to learn more about Scouts and how to do things. I talked with them for about a half an hour and answered as much as I could, then recommended a few more people to talk with. He said he was struck by how friendly everyone was at the show, and I assured him this was pretty normal.
Brian and I called it at about 11:30 and after downing some more water we crashed out.

Saturday we got up early to make sure we got our spot back, and after some lousy hotel food and a Clif bar we hit the road for the fairgrounds. Our spot was where we left it, as was the EZ-UP, and we set up camp for the day under cloudy skies and 65˚ temperatures. There were more vendors set up selling things so we hustled over to see what was newly available. I found a set of beautiful 2″ Stewart-Warner oil and amp gauges and got them for $15. Further down the line we stopped in to see Dan at the Binder Boneyard and I bought a locking glove box latch for $20, which should work better than the wiggly hunk of metal I’m currently running. Elsewhere I hemmed and hawed over an incomplete chrome trim set without the clips and walked away, feeling good about my self control.

I then spied a set of fiberglas inner panels and noticed the third section for above the liftgate door—this one had the cutout for a switch like mine. We figured Howie at Binder Boys would have one in stock. His booth is amazing; one half of his setup is two full tables of divided parts containers organized by fastener type, size, shape, and function—thousands of items. The other half is a trailer crammed with neatly organized large parts in racks and on shelves. He hustled into the trailer and within a minute handed me two to choose from, charging me $3 for the best one.
We headed back to the trucks to get some lunch, and then figured we should go over and check out IHPA’s booth up by the hangar. There we drooled over a lot of really nice stuff, including the brake kits we’d seen at Lee’s place. Brian struck up a deal and got a great price on one minus shipping. I got a decent deal on a set of liftgate struts for my truck and decided I’d hit my spending limit.

We visited with friends, got some more ice cream, and wandered through the rest of the show looking at the new arrivals. When they announced the raffle would start at 6 back at the hotel, we broke down camp and headed back there at about 4:30 to get our spots in the parking lot. I was fortunate enough to have a guy park a genuine SSII next to me, which we took time to drool over as the sun finally came out.

The raffle went off pretty quickly (I did not win anything, as usual) and the auction was lots of fun. There wasn’t a lot that I was interested in this year, so I kept my wallet in my pocket.
After the raffle, things broke up into smaller groups. I was feeling pretty worn down, so I called home and talked to Jen for a bit away from the crowds. We mingled a little and chatted with some folks, but were feeling pretty beat and headed upstairs at around 11.
Bennett and I had a long drive ahead of us (Brian was stopping off in West Virginia) so we bailed out of the hotel, ate some breakfast in the parking lot, and checked over fluids and fasteners. After topping off the important stuff we got on the road under cloudy skies. At the first service station a fellow with a crusty SSII on a trailer pulled up next to me, and I wished him luck with his restoration. Talking to him on Friday I learned he’d found one of only 50 Midas SSII’s in existence under a tarp out in the boonies, and he was going to rebuild the whole thing.

We drove into the morning gloom and soon it started drizzling. It was enough to cover the windshield but not enough to be dangerous, which was lucky for me because my wipers stopped working somewhere in Western Maryland. Again, with the bikini top up everything in back stayed bone dry. I think the worst part was that for the first hour I was cold; I was able to get to and put on my windbreaker but my legs were freezing until we stopped for a break and I could get under the hood to manually open my heater valve.

Beyond that, the ride home went off without a hitch. The roads were open, the rain let up right before Frederick, and for the final leg I drove with the top down and the sun on my back. I got into the house at 8PM and enjoyed some dinner with the girls in front of the TV.

Once again, our trusty old binders didn’t fail us. Once again, we had a great time getting out there, seeing friends, talking about trucks (and other stuff) and enjoying the summer in Ohio after it cooled off. We ate too much grilled meat off the tailgate, drank just enough beer, a lot more water, and avoided just enough rain to make it pleasant. Once again I had a great crew to enjoy the trip with, and I’m looking forward to next time.


